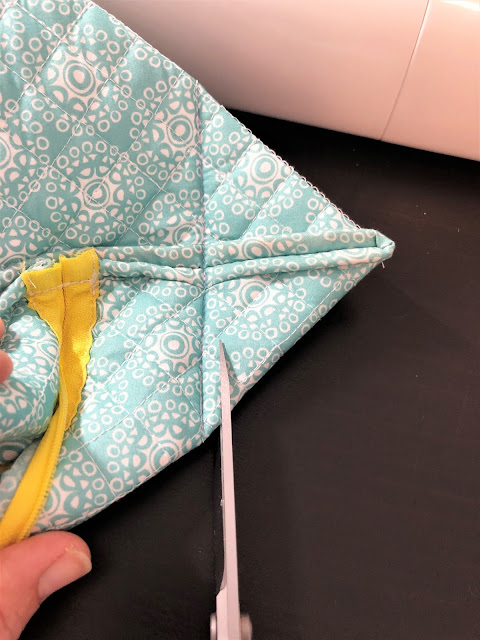
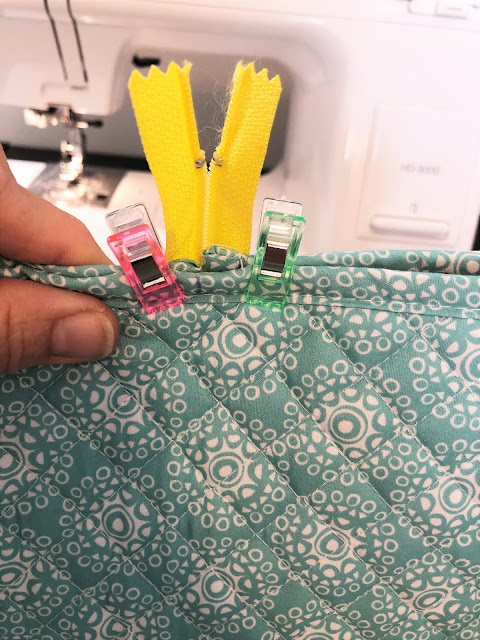
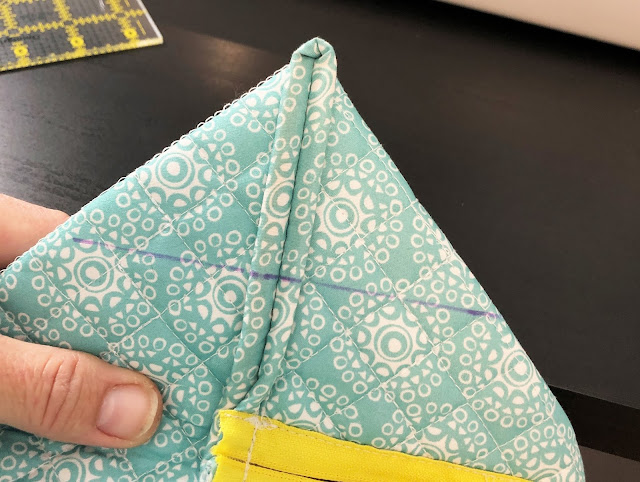
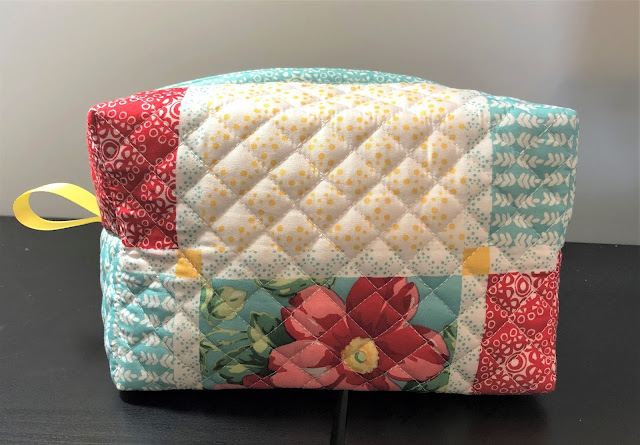
I follow several people who sew on YouTube and have found some wonderful items to make and some that I had no idea you could create the stuff that these people create using only a placemat. Lorri Nunemaker has a huge following and I have come to love the things that she sews. I loved her video titled, "Create a Zipper Pouch from Placemat" so much that I had to try and duplicate what she had done. I'm sure mine doesn't compare to hers, but you can find what I done below. Feel free to go find her video and see how she completed this along with so many other things that she has created using a placemat or two.
To get started you will need a placemat and a zipper. The placemat I used was the same one featured in Lorrie's video from The Pioneer Woman. It was not until I saw this video that I realized The Pioneer Woman had as much stuff out there that she does.
The length of the zipper needs to be longer than the width of the placemat.


 Thanks for stopping by my little piece of serenity. I’m a Tennessee transplant who loves to quilt, sew and cross stitch. I also love reading, gardening and baking. I share my daily life with 2 dachshunds, a tortoiseshell cat and a husband who puts up with all my crazy ideas. In addition, I have 3 grown children and 4 grandkids who I treasure more than anything.
0 comments